


Pharos Network is a next-generation modular, parallel Layer 1 network built on three layers: Base, Core, and Time Extension. To test it, go to the testnet website through the Syndicate app. It’s safe. The app only guides you through verified sources, so the risk of encountering phishing sites and losing funds is minimized.
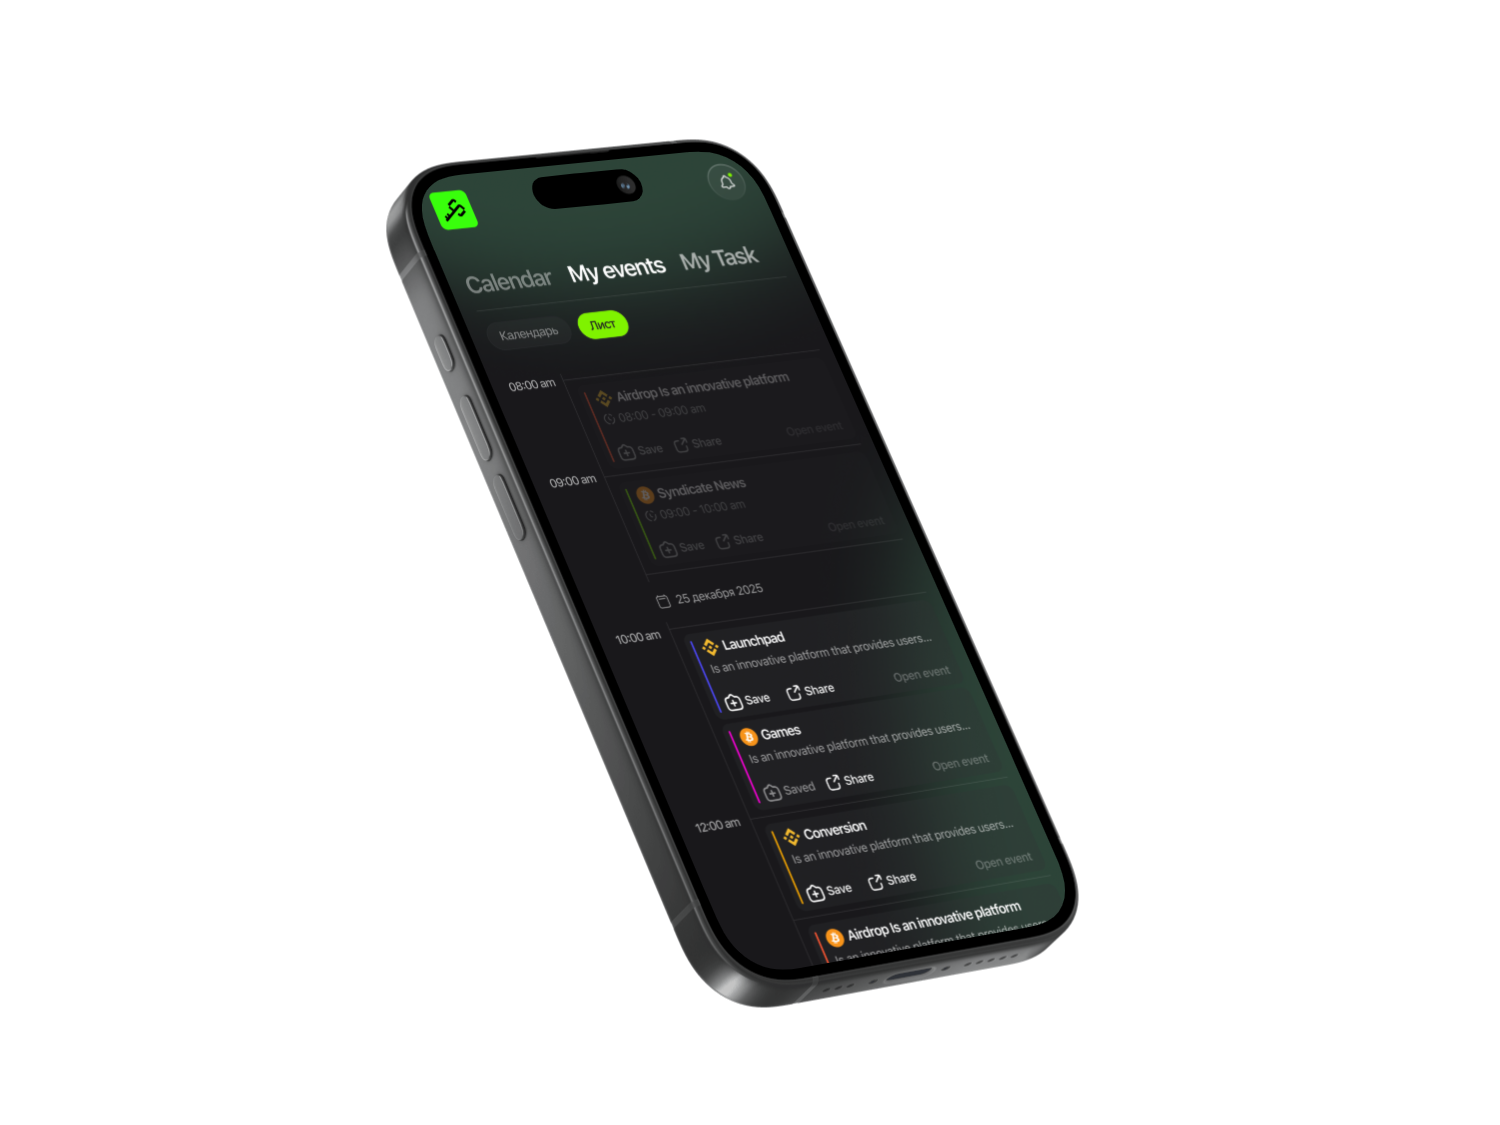
Syndicate – Less Noise, More Action
Never miss an Airdrop with a smart calendar, instant notifications, and community-driven insights.


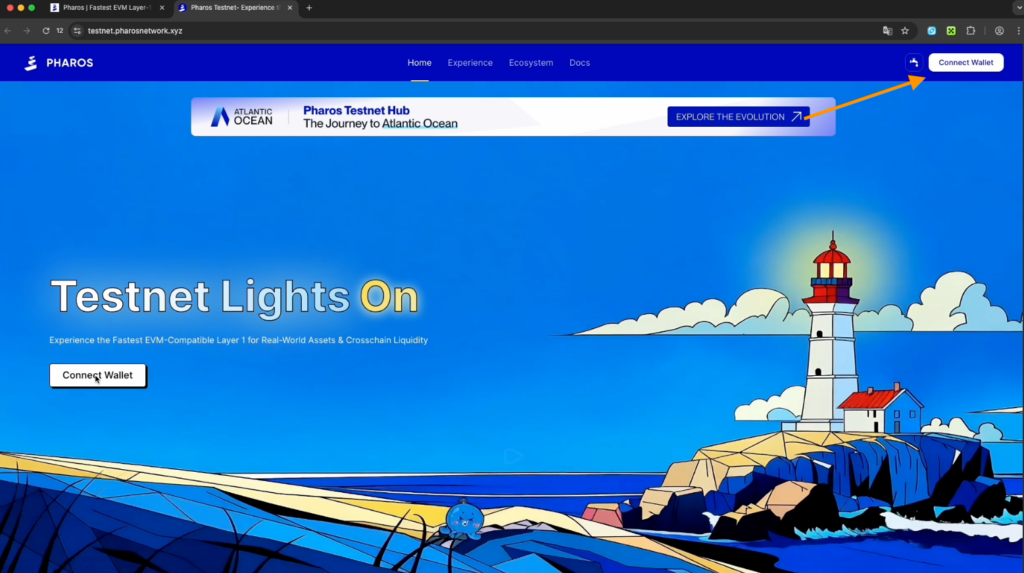
To begin, find the Pharos project in the app and follow the provided link. After that, click Join Testnet and connect your wallet using the button on the first screen. Confirm the action by clicking the Confirm button.
Tasks
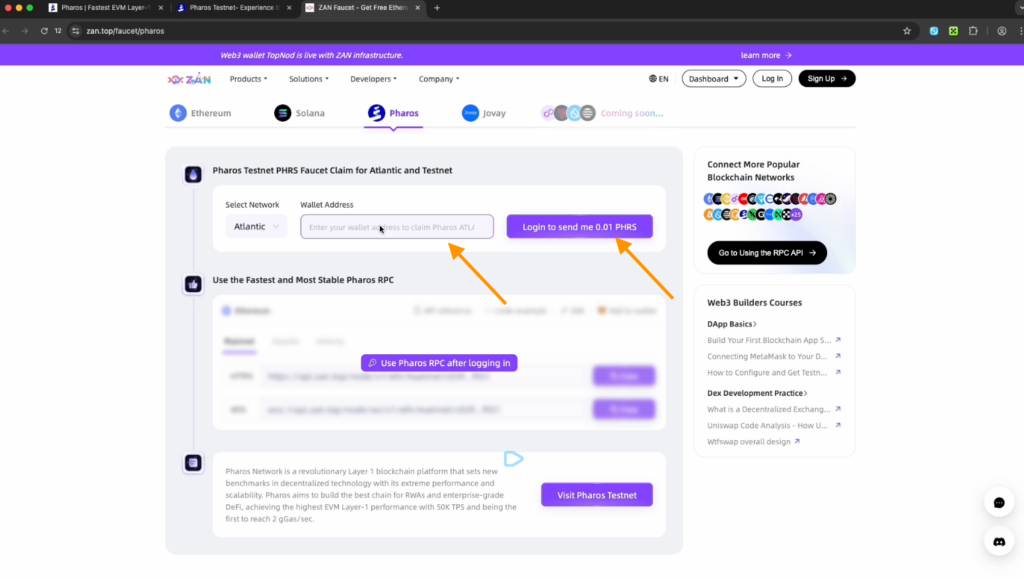
- Scroll down the page — you’ll be prompted to claim test tokens right away. Make sure the wallet address shown matches yours.
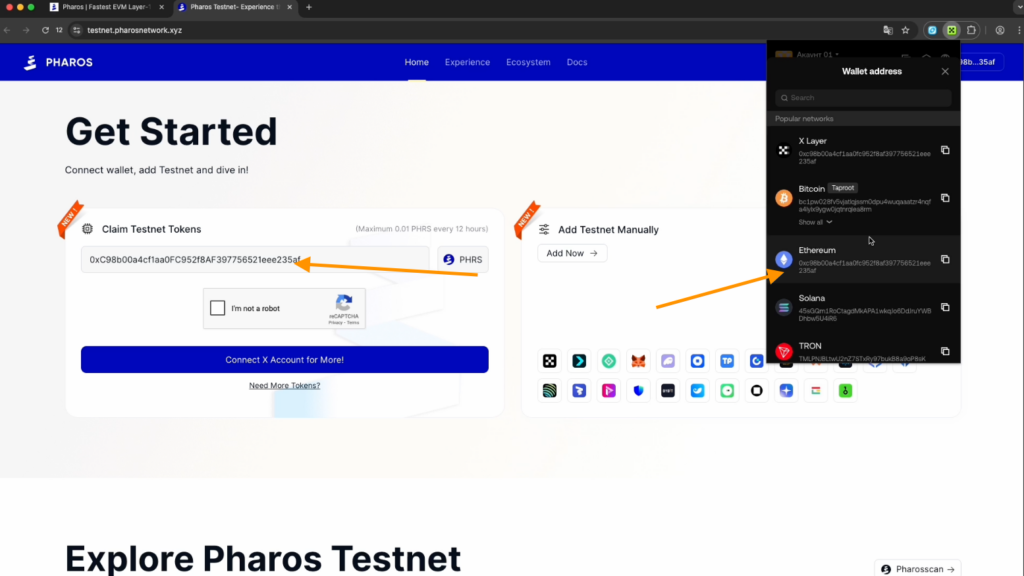
- Link your X account to receive tokens.
- Return and click Claim Now.
- To claim additional tokens, click Need More Tokens.
- Go to FaroSwap: enter your wallet address and you’ll be redirected to its X account, which you need to follow. Then return back.
- Next, go to ZAN: sign up using your Google account, enter your name in the Welcome to ZAN window. Open ZAN again, enter your wallet address, and click Send me Tokens. You can claim tokens to your wallet once every 24 hours.
- Return to the testnet main page and add the test network to your wallet by clicking Add now. To check whether it was added, open your wallet, click the networks icon, and search for Pharos.
Activities website
- Check in on the site daily.
- Send tokens to a friend or to yourself using another wallet. You have 0.02 $PHRS: copy the address of your second wallet, enter 0.0001 $PHRS, and send it.
- Swap: connect your wallet here again. You can swap $PHRS to USDC.
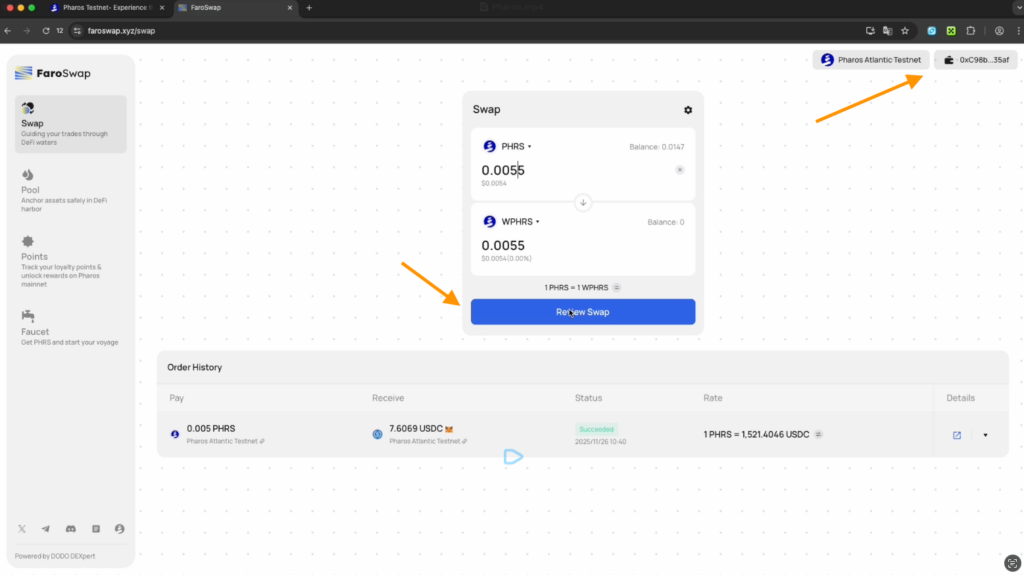
- Provide liquidity on FaroSwap: you need to add liquidity. Choose the WPHRS/USDC pair. First, swap PHRS to WPHRS. Then return to the Poolsection, select the WPHRS/USDC pair, and add, for example, 0.037 for testing. Confirm WPHRS first, then USDC — done! You’ve successfully added liquidity on FaroSwap.
- Invite Friends: share your referral link with friends. Once they join the project and start completing activities, you’ll see your referral statistics here.
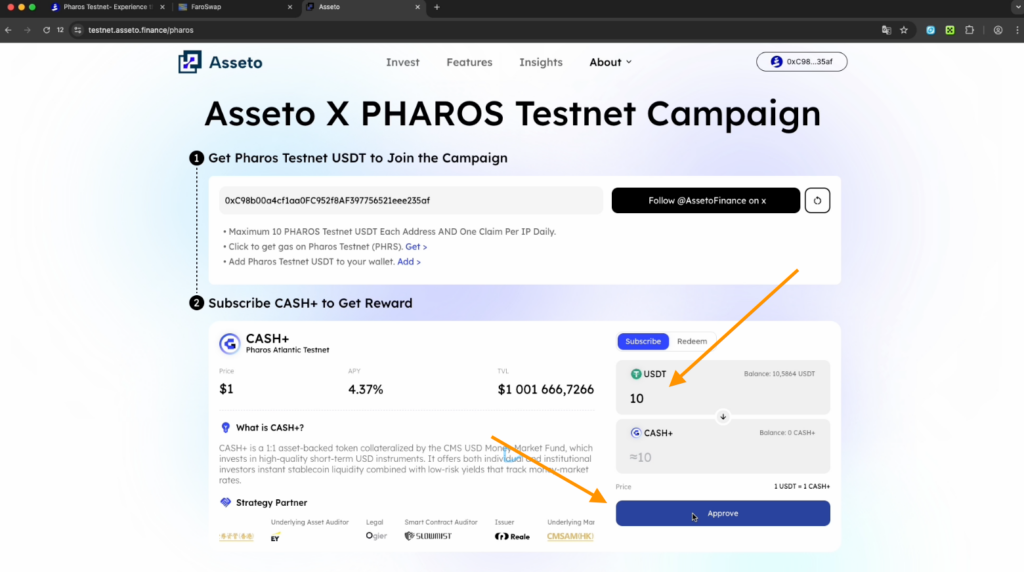
- RWAfi on the Assetto protocol: on the Assetto website, connect your wallet, link your X account, and follow @AssettoFinance on X. After that, you’ll be able to claim 10 USDT from the faucet on the Pharos network. If the faucet doesn’t work, try completing the steps using an alternative method.
Swap $PHRS for USDT on FaroSwap
To complete another task, swap $PHRS for 10 USDT on FaroSwap. Then go back to Assetto and check the balance on this page. Subscribe 10 USDT to Cash+ and click Approved, then Confirm and Subscribe.
The next step is minting an NFT on the Grandline platform — currently, only one NFT is available. To mint it, you need to accumulate a sufficient amount of tokens, which usually takes around five days.
Social media tasks
- Follow Pharos Testnet Live, Pharos Research, and Pharos Ecosystem on X.
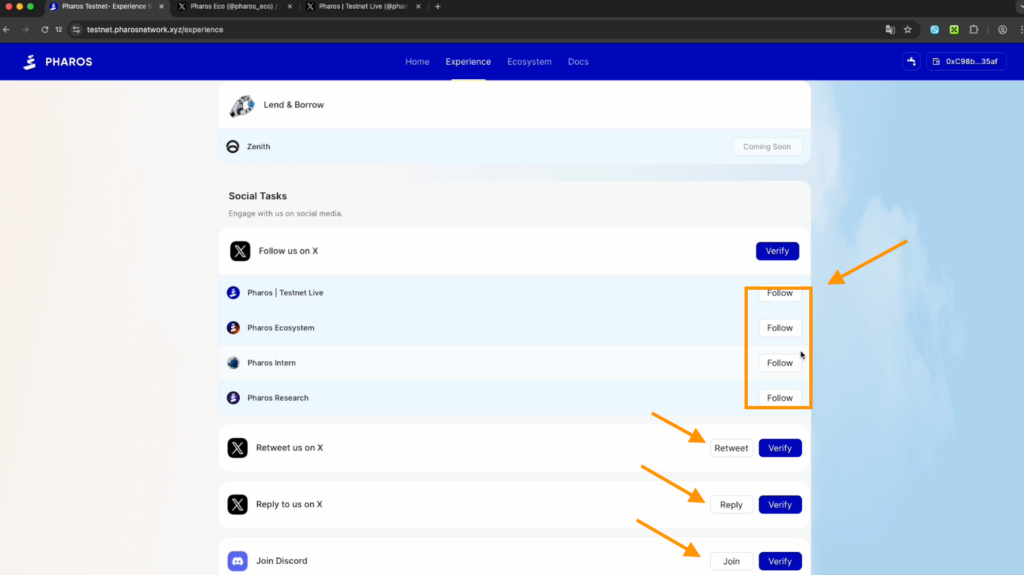
- Click Verify, make a retweet and a reply, then click Verify again.
- Join Discord. Log in and complete the verification as instructed by the server. Right away, check which roles you can claim.
- Post a greeting in the Welcome channel and write something in General Chat.
- Return to the tasks website and click Verify everywhere so all your activities are recorded.
Bitverse
To complete this task, you need to swap $PHRS for USDT. Go to the website Bitverse and connect your wallet. Then click Deposit and top up your balance with 10 USDT. It’s recommended to choose the Slow transaction speed to minimize fees.
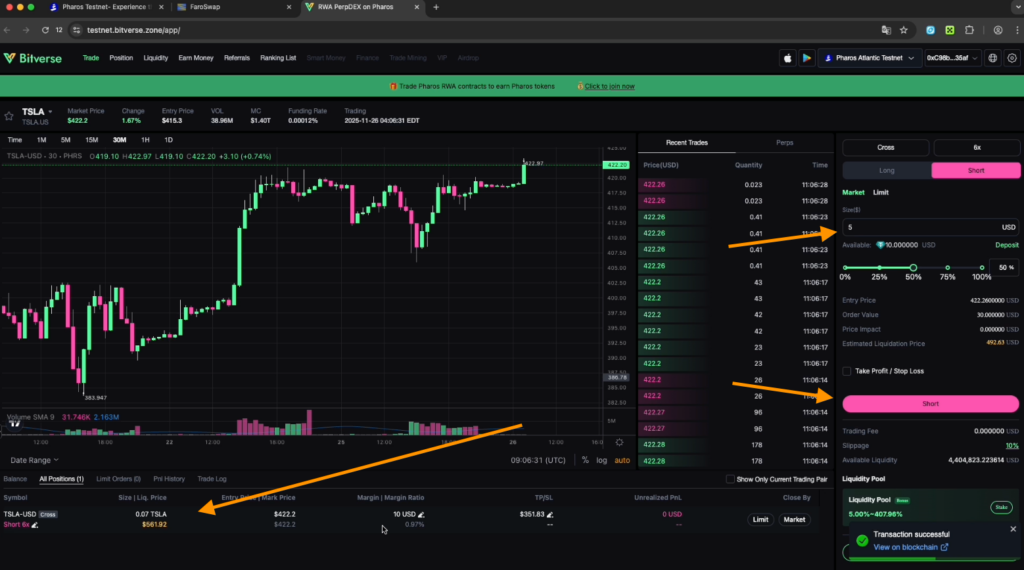
Enter any trade — choose Short or Long and open a position with $5 using 6x leverage. To reduce fees, select the Slowtransaction speed. Afterward, close the position at market price by clicking Confirm.
Check your open tasks
- All activities can be done daily, without limits.
- Go to the Experience section and click Daily Check In every day.
- Receive tokens every 12 hours — 0.01 $PHRS each time.
Share this post
Link copied!
